| Esta página em Português. |
This DHTML technique introduces an element of surprise in a home page, such as in The Lascaux Caves, France (April 2000). The LANTERNA (lantern or pocket lamp in Portuguese) also contributes to a feeling of mystery, of "being underground", in games, puzzles, or role-playing adventures designed in HTML.
The working principle is simple: in the HTML page body (
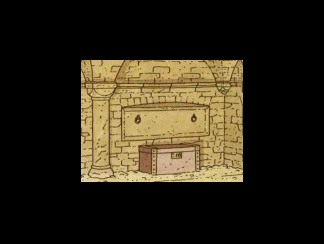
The "spot" layer has just a small transparent area in the middle, opening a window to the page body, beneath it. The solid layer is created either from a table or an image that fills all the layer. The "spot" layer location is controlled with JavaScript. Assuming the transparent area is associated to the mouse pointer, the offset
|
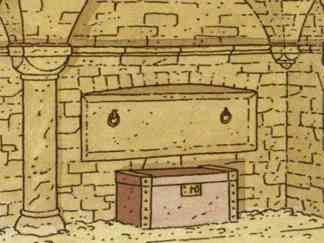 The base image |
The "spot" layer must be design to hide the whole base image. If the mouse is allowed to scan the whole base image, the size of "spot" layer should be twice the size of the base image on each direction. It should be noticed that if the base image is smaller than the browser window, the area hidden by the layer should be bounded to the base image. The simplest form to achieve it is to create a frameset with frame approximately the size of the base image, and put the remaining elements in other frames. Since the layer is part of the frame code its spatial boundaries coincide with the frame's boundaries. This is how I did and also did the people at Lascaux. A more complex form of achieving the same result without frames is to use the clip property, which defines the visible area of each layer. This was note used here to avoid confusing the reader. Moreover, it requires some additional computation effort from the browser. |
The illusion of "dragging the layer" is simulated with an animated GIF image. Currently, it is not possible to render images or layers partially transparent with DHTML, although the CSS 2.0 specification includes this feature. |
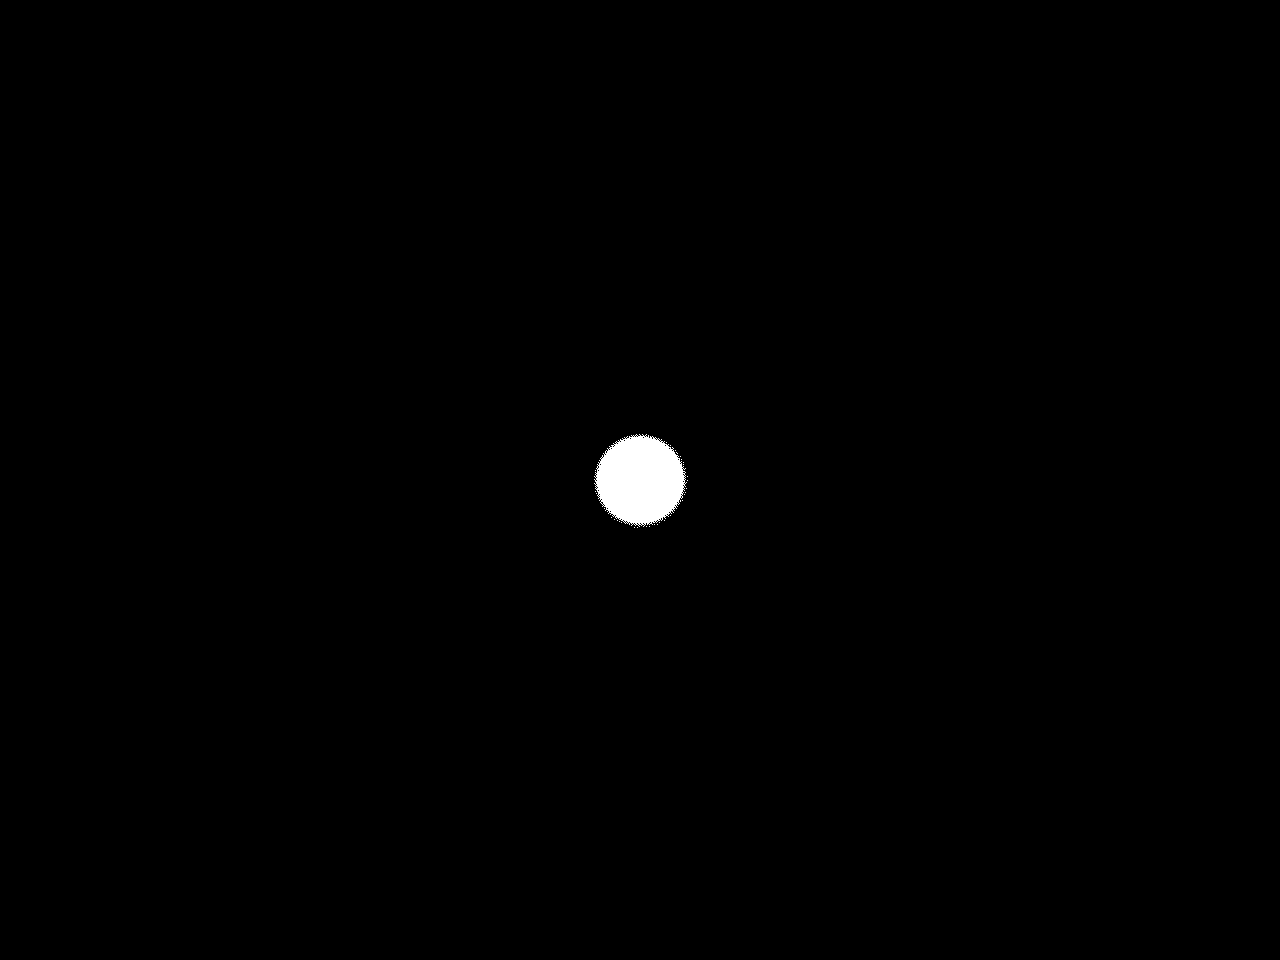
If the transparent area is not rectangular it is necessary to use a GIF image to define the shape of the window. The image should be black in the solid areas and white on the transparent areas. Then, it should be saved using the white as transparent colour. The "spot" layer can be coded in two ways:
I chose the second solution, which seems to be the optimal choice. At the right, the reader will find the code for both solutions. |
The code of the "spot" layerOne image fills all the layer
Table with an image at the center
|
The function responsible for "dragging" the "spot" layer is defined in
Apart from slight implementation differences for Netscape Navigator and Microsoft Internet Explorer, the procedure is as follows:
If the pointer is outside the image boundaries the function is inactive. |
Dragging the "spot" layer
|
Although the visual effect is pleasant, it is frustrating to realise that one can not interact with the base image. It would be much more interesting if one could click on the image "hot spots" to find more about it or follow to other pages.
That's what we'll cover next.
In case of doubt, critics or suggestions, please contact me.
| Created on 28th May, 2000 | Return to the LANTERNA. | ©2000 João Gomes Mota jsgm@gomes-mota.nome.pt |
| The base image was taken from "Les 7 vies de l'Épervier, tome 5 - Le Maître des Oiseaux" by Cothias and Juillard | ||